
LEGO design software, like BrickLink Studio, LEGO Digital Designer (LDD), and Mecabricks, has revolutionized custom LEGO building. These tools enable intricate designs, quick modifications, and limitless brick selection. However, not all digital LEGO models translate well into real-world builds. This article explores common reasons why LEGO designs fail in real life and provides expert solutions to ensure your builds are both visually stunning and structurally sound.
1. Structural Weakness & Gravity Issues
The Problem:
In digital design software, there’s no gravity, friction, or weight distribution. A model may look perfect on-screen but collapse, sag, or detach when built with actual LEGO bricks.
How to Fix It:
Use LEGO Technic pieces for reinforcement, especially in large or articulated models.
Test weight-bearing structures by building prototypes of critical sections.
Avoid floating or unsupported connections that may not hold up under real-world conditions.
2. Illegal Building Techniques
The Problem:
LEGO software allows connections that aren’t possible or are too fragile in real life. Common “illegal techniques” include:
Overly tight connections that put too much stress on bricks.
Placing elements at impossible angles that rely on digital flexibility.
Parts intersecting slightly, which works digitally but not physically.
How to Fix It:
Follow official LEGO building guidelines to avoid fragile connections.
Check for stress points where bricks might warp or break over time.
Physically test tricky connections before finalizing a design.
3. Availability of LEGO Parts in Desired Colors
The Problem:
In software, every part exists in every color. In reality, LEGO only produces certain elements in specific colors, making some designs impossible to recreate exactly as planned.
How to Fix It:
Use BrickLink’s color database to confirm part availability.
Be flexible with color choices when translating a digital model to reality.
Plan ahead to source rare LEGO pieces early if essential to your design.
4. Fragile Joints & Connections
The Problem:
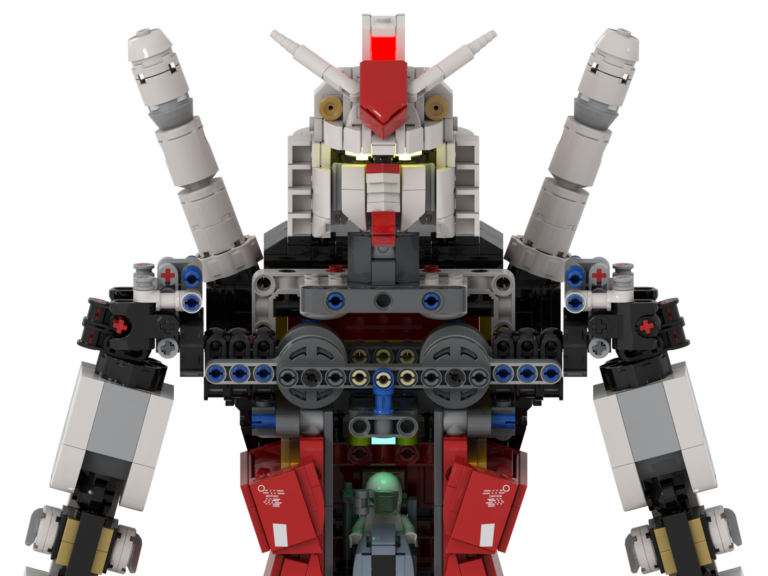
Some designs rely on hinges, ball joints, or clips that work well in software but struggle to support weight in real life. This is a common issue for LEGO mechs, robots, and articulated models.
How to Fix It:
Double up on connection points to distribute stress.
Use friction-based joints (e.g., ratcheted hinges) for heavier sections.
Test articulation points early to ensure they can support movement.

5. Balance & Stability Issues
The Problem:
A LEGO model might stand perfectly in software but tip over in real life due to poor weight distribution. This happens often with top-heavy builds like LEGO mechs and towers.
How to Fix It:
Use a lower center of gravity by placing heavier bricks at the bottom.
Widen the stance of models for better support.
Use internal bracing to reinforce the core of the build.
6. Scaling Misjudgments
The Problem:
A model may look reasonably sized on a screen but turn out too big or too small when built. This often happens when designing without a size reference.
How to Fix It:
Compare your model to an existing LEGO minifigure or brick for scale reference.
Use a standard LEGO brick or plate as a measuring tool during digital design.
Estimate part count and weight before committing to a full build.
7. Connections That Don’t Exist in Real Life
The Problem:
Software allows for pixel-perfect placement, but real-world LEGO bricks have tiny imperfections. Some digital designs rely on parts sitting just right, but friction and tolerances may prevent a perfect fit.
How to Fix It:
Allow for slight gaps instead of forcing precise alignments.
Snap parts together frequently in real life to confirm they work.
Use tried-and-true LEGO building techniques rather than experimental placements.
Conclusion: Test, Adjust, and Build Smarter
LEGO design software is an amazing tool, but it’s not a perfect substitute for real-world building. The best approach is to combine digital design with hands-on testing to ensure your models are not only visually stunning but also structurally sound. By recognizing and addressing these common pitfalls, you can create LEGO models that transition seamlessly from screen to shelf.
Optimize Your LEGO Builds Today!
Want to see more expert LEGO building tips? Stay tuned for exclusive tutorials and updates on custom LEGO models!