
Have you ever wanted to return to the joy of building brick models but felt unsure where to begin? Have you been inspired by incredible custom creations but didn’t know how to bring your own ideas to life? Don’t worry—I’ve got you covered!
Based on my personal experience, I’ll guide you through the process step by step. Every experienced MOC (My Own Creation) builder has their own techniques, but today, I’ll show you how to design stunning models using software and then turn them into real-life masterpieces for your shelves!
Ready to build? Let’s get started!
Getting Started with Digital LEGO Building: A Step-by-Step Guide
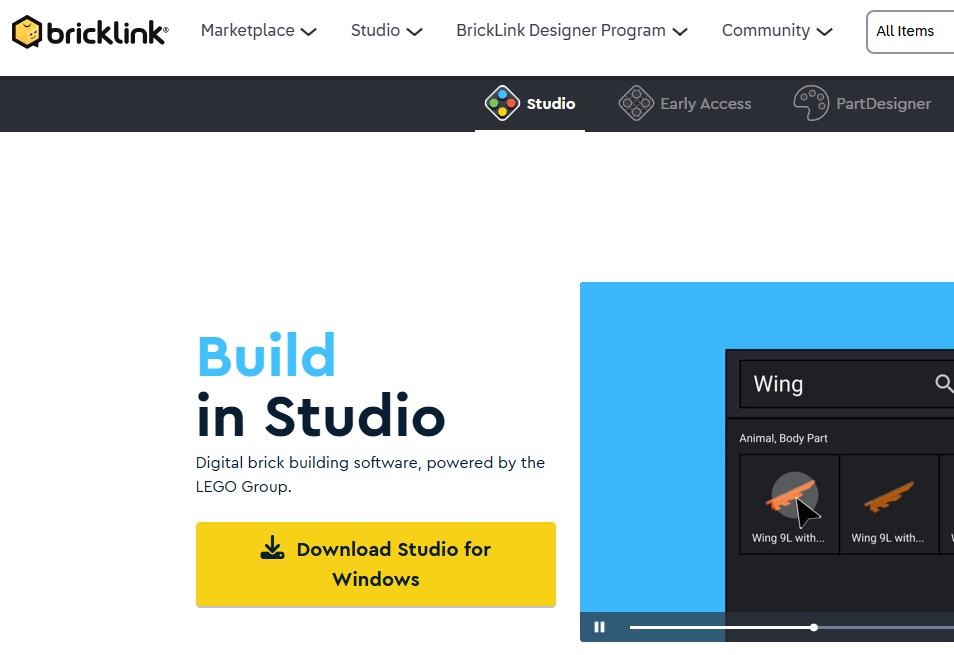
The first step in your LEGO model-building journey is to create an account on Bricklink, the ultimate online marketplace for LEGO enthusiasts. Bricklink offers a vast selection of individual bricks, official LEGO sets, and even custom community-made models through its annual contest.
Once your account is set up, navigate to the “Studio” section and download both Studio and Part Designer.
- Studio is the primary software where you’ll design and build your digital LEGO models.
- Part Designer allows you to create custom tiles with unique textures and design your own custom minifigures.
After installing both programs, launch Studio and complete the built-in tutorial to get familiar with the tools. This will set you up for success in designing your dream LEGO creations!
Mastering LEGO Studio: Building Smart from the Start
After completing the tutorial, you might be eager to jump straight into building. While that’s a great way to familiarize yourself with the controls and learn how to find parts, I recommend taking a more strategic approach.
When designing models, it’s important to consider piece availability, color options, and pricing—especially if you plan to bring your digital creations to life. Building with a plan will save you time and ensure your model is both realistic and cost-effective when ordering parts.
Take your time, experiment, and refine your design before committing to a final build!
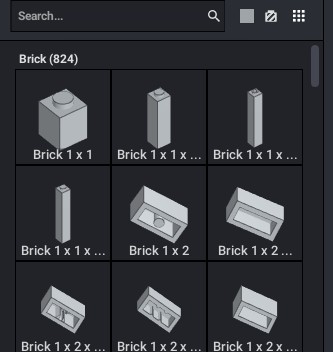
Navigating the Studio Parts Catalogue: Choosing the Right LEGO Pieces
The Studio parts catalogue is extensive, featuring a vast majority of LEGO molds and pieces created over the years. However, many older pieces—while visually similar to modern ones—are no longer in production and can be significantly more expensive due to rarity.
To avoid confusion and unnecessary costs, I highly recommend hiding outdated parts from your selection. This will help streamline your building process and ensure you’re using readily available components.
If you’re unsure about a piece, check the following:
✅ Available colors – Some parts may not exist in the color you need.
✅ Price – Older, rarer parts tend to be much more expensive.
✅ Age of the piece – Use Bricklink’s catalogue to verify when a piece was last produced.
For example, there are multiple types of 1×2 bricks that appear similar but have different bottom designs—be mindful of these variations to ensure compatibility and cost efficiency.
Before You Build: One Crucial Studio Setting to Adjust
Once you’ve cleaned up your digital parts selection, you might be tempted to dive right in and start building—but hold on! There’s still one important setting you need to consider before going all out.
This setting can greatly impact your design process, ensuring that your model is both realistic and physically buildable when transitioning from digital to real bricks. Stay tuned as we dive into this crucial step!
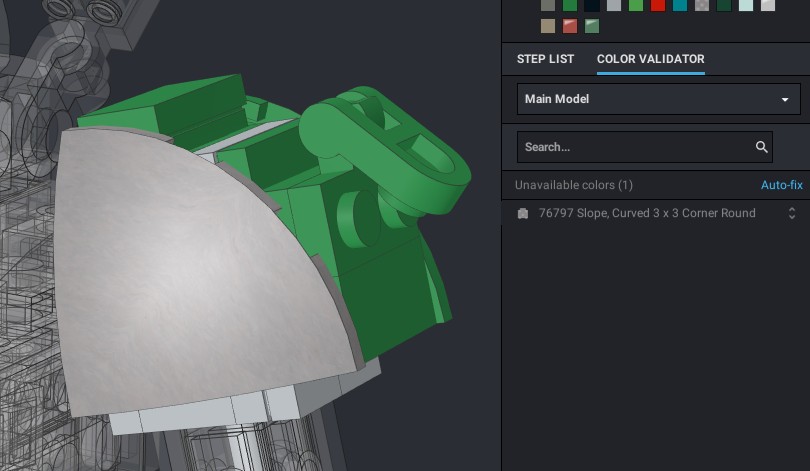
Avoiding Unavailable LEGO Colors in Studio
As mentioned earlier, not all LEGO pieces are available in every color. Using a nonexistent color can create problems when it’s time to order your parts.
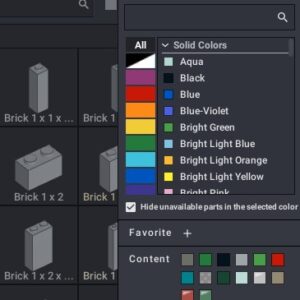
To prevent this, take advantage of Studio’s built-in color filtering tools:
✅ Filter by available colors – Use the checkboxes to automatically limit parts to only the colors LEGO has officially produced.
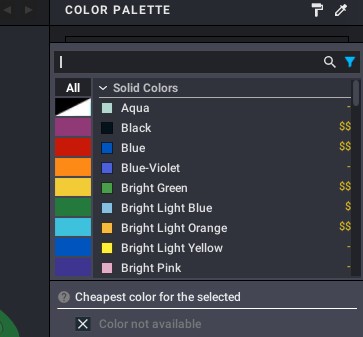
✅ Identify incorrect colors – Use the tool that highlights pieces with unavailable colors.
✅ Fix with one click – Recolor all incorrectly colored parts to the closest available alternative with a single button.
By keeping your model’s colors realistic, you’ll avoid issues when ordering and ensure a smoother transition from digital to physical building.
Preparations Complete! Ready to Start Building?
That’s it for the setup—your digital workspace is now ready! 🎉
In the next post, I’ll share essential recommendations for designing your models, along with expert tips and tricks to help you create stunning and structurally sound builds. Stay tuned!