
Designing LEGO giant robots (mechs) is one of the most exciting and complex types of custom LEGO builds I create. From concept to real-world display, each build goes through a carefully thought-out digital design process before it’s tested and assembled with real bricks. In this article, I’ll break down the step-by-step process I follow to turn a digital LEGO mech into a stable, detailed, and scale-accurate physical model.
Step 1: Choosing the Right Scale (1:30 Custom Scale)
The first and most important decision I make is choosing the scale of the LEGO robot. I work in a custom 1:30 scale, meaning the model represents the real object at 1/30th of its size. This scale allows for a satisfying balance between size, detail, and structural integrity.
Why It Matters:
It sets the proportions for every part of the robot.
Helps me plan the level of detail I can include.
Ensures consistency across all my custom LEGO models.

Step 2: Setting Up Digital Reference Points
Once I determine the size, I begin by placing reference guides in my digital design software (usually BrickLink Studio). These references help me visualize the overall dimensions of the mech.
What I Do:
Drop down height markers and base outlines.
Add silhouette placeholders to represent major parts like the head, torso, arms, and legs.
Why It Matters:
Keeps the build within the intended scale.
Helps anticipate weight distribution and poseability.
Step 3: Rough Building and Sketching with LEGO Parts
With references in place, I begin building the mech in broad shapes. At this stage, the goal isn’t perfection, but rather creating the overall volume and proportions.
What I Do:
Use basic bricks to block out large areas (torso, limbs, joints).
Place key detail parts to help guide the final look.
Try different design elements and adjust for symmetry.
Why It Matters:
Helps identify early structural weak points.
Guides the aesthetic direction of the build.
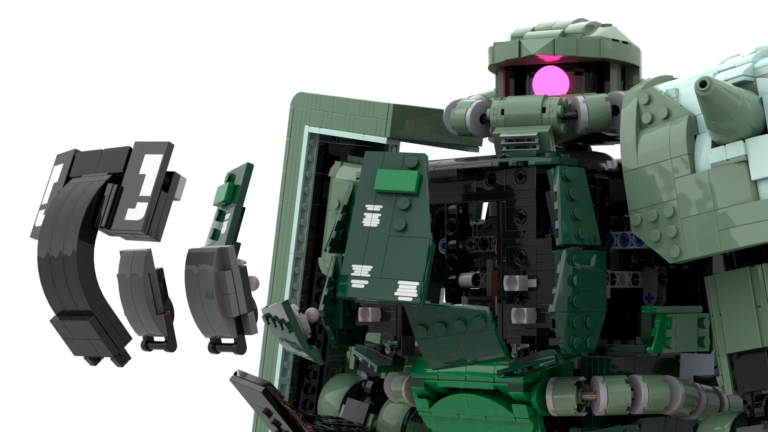
Step 4: Connecting and Refining the Structure
This is where things get serious. I begin connecting all the parts into a unified, poseable structure.
What I Do:
Introduce Technic connections and internal supports.
Reinforce major joints for stability.
Add articulation and locking mechanisms where needed.
Integrate SNOT (Studs Not on Top) techniques for clean visuals.
Why It Matters:
Ensures the mech is strong enough to stand and pose.
Finalizes the core design before moving to real bricks.
Step 5: Physical Testing and Adjustments
Once the digital model is complete, I bring it into the real world using my own LEGO parts.
What I Do:
Build the mech from real bricks, one section at a time.
Test for weak points using shake tests and gravity checks.
Make changes if the real model reveals flaws in the digital plan.
Why It Matters:
Some parts that work digitally don’t work physically.
Real-world stress testing improves durability.
Step 6: Instructions and Final Touches
With the build completed and tested, I create LEGO building instructions so others can build the mech too.
What I Do:
Break down the model into logical building stages.
Design clear, easy-to-follow instruction pages.
Add final polish: detailing, decals, and accessories.
Conclusion
Designing a custom LEGO giant robot is a complex yet rewarding process. From setting a reliable scale to digitally sketching the model and testing its physical strength, every stage is essential. By blending digital tools, physical testing, and LEGO building techniques, I bring each mech to life with both visual impact and functional stability.
Want to Build LEGO Mechs Like These?
Explore my other articles for expert tips on LEGO digital design, stability, and aesthetic techniques—or check out the full instructions to build one of my mechs yourself!