
Creating custom LEGO models is an exciting and rewarding process, but ensuring they are strong and stable is just as important as their design. Without proper LEGO stability testing, a model may collapse under its own weight or fall apart with minimal handling. In this article, I’ll share my step-by-step LEGO durability test process to ensure my builds are structurally sound and long-lasting.
Step 1: Evaluating Structural Integrity in Digital Design
Why It Matters:
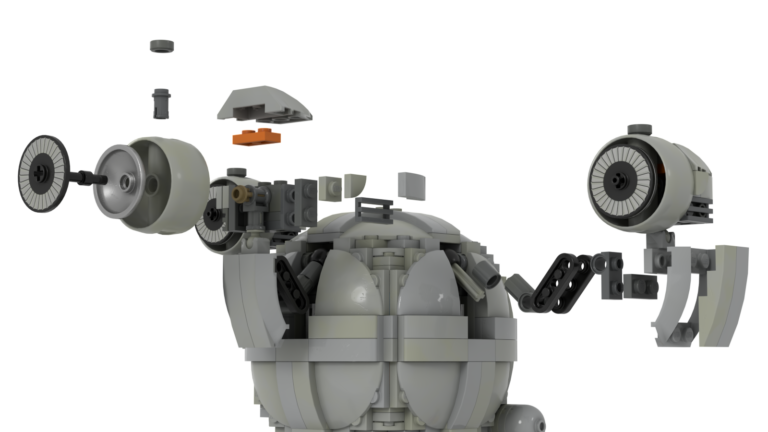
Before building a model physically, I analyze its structure in LEGO design software like BrickLink Studio or Mecabricks to identify potential weak points.
How I Do It:
I check for floating sections that lack proper support.
I avoid illegal building techniques that may stress bricks.
I reinforce key connection points with LEGO Technic elements or overlapping plates.
Step 2: Testing Stability with Weight and Gravity Checks
Why It Matters:
Real-world gravity affects LEGO models differently than in digital design, so weight distribution testing is crucial.
How I Do It:
I place the model on a flat surface and observe any leaning or instability.
I apply gentle pressure to different sections to see if they hold up.
I lift the model by its weakest-looking area to check for structural failure.
Step 3: Shake and Drop Tests
Why It Matters:
A well-built LEGO structure should withstand minor shocks without falling apart.
How I Do It:
I gently shake the model to simulate real-world movement.
If weak points are exposed, I reinforce them with additional interlocking bricks.

Step 4: Load-Bearing and Weight Tests
Why It Matters:
Larger LEGO models need to support their own weight without sagging or collapsing.
How I Do It:
I apply gradual weight pressure on roofs, bridges, and extended sections.
I test vertical structures by placing additional weight on top to simulate stress.
I reinforce weak areas with Technic beams, internal supports, or overlapping plates.
Step 5: Movement and Articulation Testing
Why It Matters:
For LEGO models with moving parts, testing articulation ensures smooth and stable movement.
How I Do It:
I move each joint to ensure friction-based connections hold up.
I test rotating or sliding sections for smooth movement.
If parts detach too easily, I adjust with firmer connections like ball joints or Technic pins.
Conclusion
By following these LEGO strength testing techniques, I ensure that my custom LEGO builds are strong, stable, and durable. Whether designing for display, playability, or large-scale projects, these tests help improve both structure and longevity.
Want More LEGO Building Tips?
Stay updated for expert LEGO techniques, custom designs, and stability testing tips!